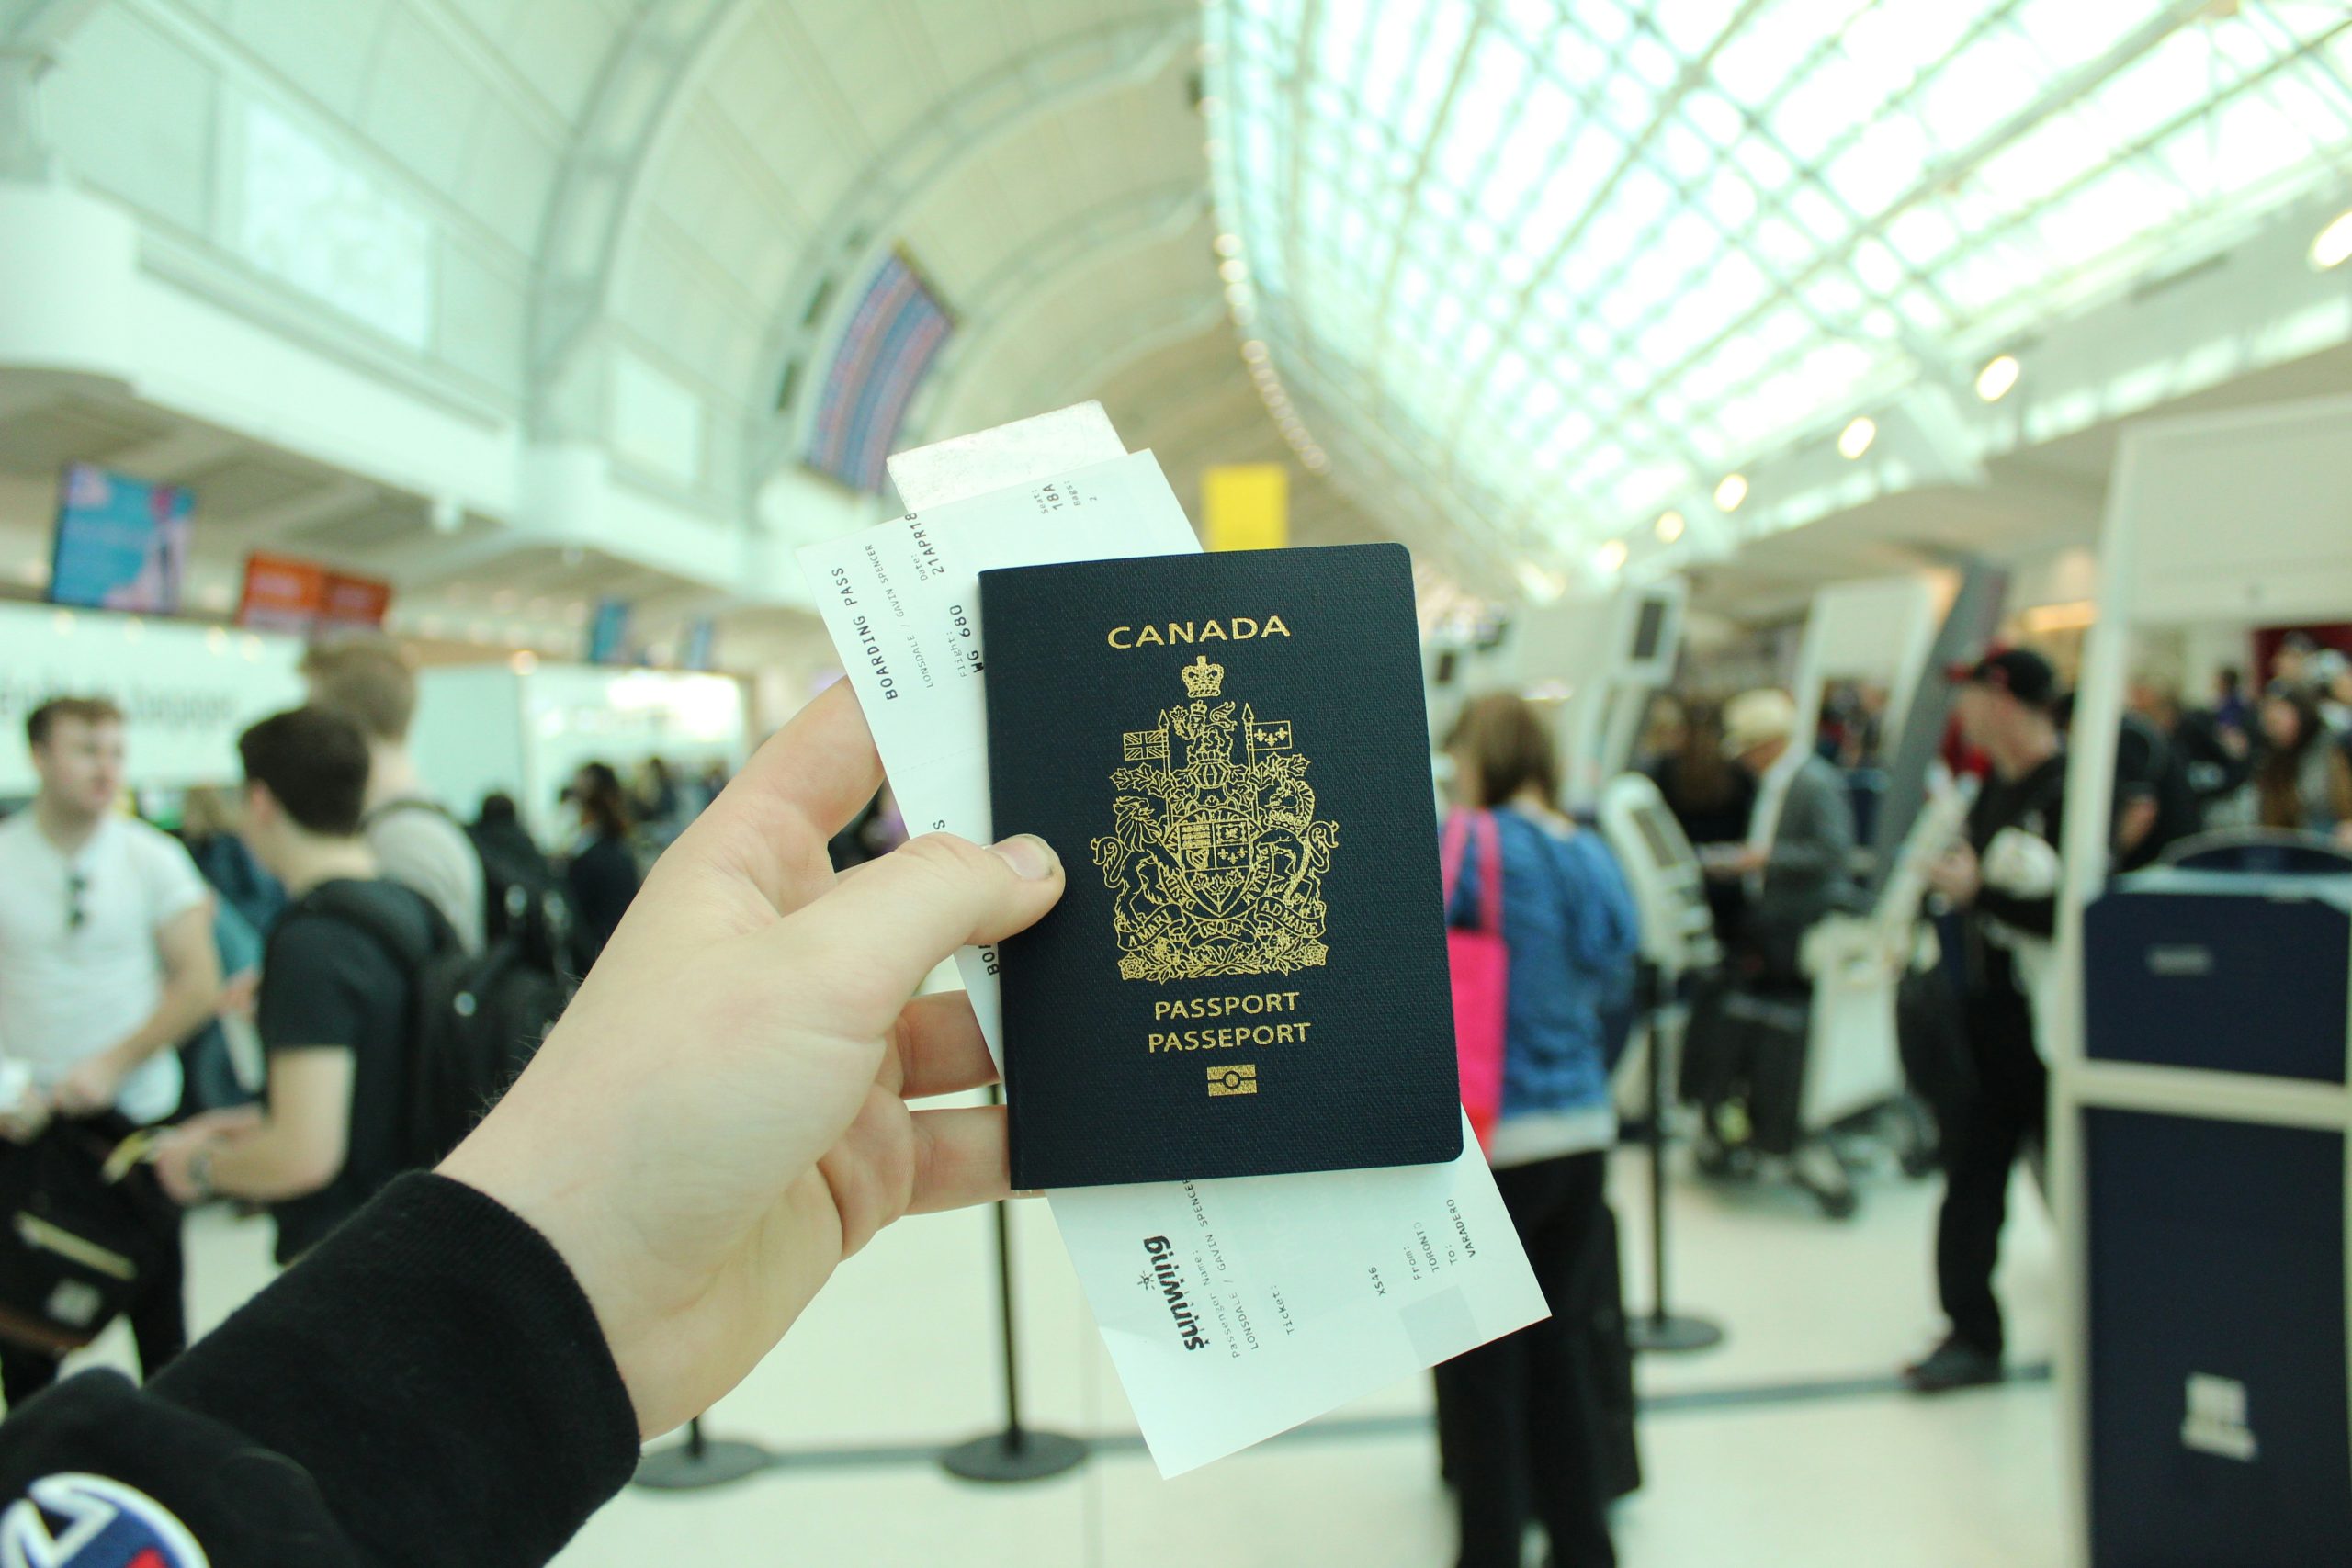
If you are planning to study in Canada, understanding the Canada student visa process is only part of the picture.
The official document most international students need is called a study permit. Depending on your nationality, you may also need a visitor visa or an electronic travel authorization (eTA) to travel to Canada.
Therefore, when people search for a “Canada student visa,” they are usually referring to the process of getting permission to study in Canada and the travel document connected to their entry.
This guide walks you through that process from choosing your school and receiving admission to preparing your documents, proving your finances, submitting your application, giving biometrics and preparing for your arrival.
If you are completely new to studying abroad, you can also read our complete guide to getting a student visa to study abroad. It explains the broader student visa process before you focus on Canada’s specific requirements.
The goal here is simple: by the end of this guide, you should understand what each major requirement means, what you need to prepare and what to check before submitting your application.
What Is a Canada Student Visa?
The term Canada student visa is commonly used when people search for information about studying in Canada. However, the document that allows most foreign nationals to study at a Canadian institution is the study permit.
A study permit is issued by Canada’s immigration authorities and allows you to study at a designated learning institution (DLI) in Canada.
Your study permit is therefore different from the document that may allow you to travel to Canada.
Depending on your passport, you may need:
- A study permit to study in Canada
- A temporary resident visa (TRV) to travel to Canada
- An electronic travel authorization (eTA) if you are visa-exempt and travelling by air
This distinction matters because getting a study permit does not mean you should ignore the travel document requirements that apply to your nationality.
How the Study Permit Process Works
The process is easier to understand when you see it as a series of decisions rather than one large application.
A typical journey looks like this:
Choose a suitable Canadian school and program, receive admission, check your PAL/TAL or exemption, prepare financial and supporting documents, submit the study permit application, give biometrics if required, complete additional requirements if requested, wait for a decision, and then prepare for travel.
The exact requirements can vary depending on your circumstances.
For example, a student applying for a bachelor’s degree may have different PAL/TAL considerations from someone entering a master’s program at a public DLI.
Therefore, do not copy another student’s document list without checking how the requirements apply to your own situation.
Who Can Apply for a Canadian Study Permit?
The simple answer is: anyone planning to take a study program in Canada that lasts longer than six months needs to apply for a Canadian study permit.
Therefore, you generally need to satisfy several requirements before a study permit can be approved.
Among other things, you need to:
- Be enrolled at a designated learning institution.
- Show that you have enough money for your tuition, living expenses and transportation.
- Meet Canada’s admissibility requirements.
- Obtain a medical examination or police certificate if required.
- Satisfy the requirements that apply to your temporary stay in Canada.
Your application should also clearly explain your study plans and circumstances.
This does not mean you cannot have future plans involving Canada. However, you still need to meet the requirements that apply to a temporary resident applying for a study permit.
The important thing is that your application should present a clear and truthful picture of your education plans, finances and circumstances.
Step 1: Choose the Right School and Program
Before worrying about the application form, start with the school.
You need to make sure the institution you plan to attend is a Designated Learning Institution (DLI).
A DLI is a school approved by a provincial or territorial government to host international students.
Do not assume that every Canadian college or university is automatically suitable for your study permit plans.
Canada maintains an official DLI list, and the information available for institutions can also help you check program details relevant to international students.
Why Your Program Matters
Choosing a school is not only about getting an admission letter.
You should also look carefully at:
- The program duration
- Tuition fees
- Program content
- Location
- Admission requirements
- Whether the program fits your academic background
- Whether the program may qualify for a post-graduation work permit, if that is part of your long-term plan
For example, imagine you studied accounting and are now considering a postgraduate program in Canada.
You should be able to explain why the Canadian program makes academic and professional sense for you. If you choose a completely unrelated program simply because you found admission easier, you may need to provide a clear explanation for the change.
Specialist tip: Before paying tuition or making major arrangements, check the school’s DLI status and investigate the specific program rather than looking only at the institution’s name.
Step 2: Get Your Letter of Acceptance
Once a Canadian institution accepts you, you will receive a Letter of Acceptance (LOA).
You generally need an LOA from a DLI when applying for a study permit.
Do not simply save the letter and move on.
Read it carefully.
Check details such as:
- Your name
- Your program
- Tuition information
- Start date
- End date, where provided
- Registration information
- Institution details
Your information should be consistent across your application and supporting documents.
For example, if your passport uses one spelling of your name but another document contains a different spelling, resolve the discrepancy where necessary rather than ignoring it.
The LOA is one of the documents that establishes what you are going to Canada to study, so accuracy matters.
Step 3: Find Out If You Need a PAL or TAL
The Provincial Attestation Letter (PAL) or Territorial Attestation Letter (TAL) is another important part of Canada’s international student system.
In many cases, you need one before submitting your study permit application.
The letter confirms that there is space for you within the province or territory’s allocation for international students and is provided through your designated learning institution.
However, not every student needs a PAL or TAL.
As of 2026, students entering degree-granting master’s or doctoral programs at public DLIs are exempt from the PAL/TAL requirement. Primary and secondary students and certain other groups are also exempt.
If you are studying in Quebec, different provincial requirements apply, including the Quebec Acceptance Certificate (CAQ) in applicable cases.
What Should You Do?
Do not guess whether you are exempt.
Check your specific situation before submitting your application.
For example, a student entering a master’s program at a public university may be treated differently from a student entering a college diploma program.
If you believe you are exempt, you may still need to provide evidence showing why the exemption applies to you.
Before submitting your application, check the official Canadian study permit and PAL/TAL guidance to confirm whether you need an attestation letter and what steps you need to take.
Step 4: Prepare Your Financial Evidence
This is one of the sections you should take seriously.
When applying for a Canada student visa, many applicants focus on one question:
“How much money do I need?”
The better question is:
“Can my financial documents clearly demonstrate that I can afford my studies and living expenses?”
Canada requires applicants to demonstrate sufficient financial support for tuition, living expenses and transportation.
For applications made on or after September 1, 2026, a single applicant outside Quebec generally needs CAD $23,448 for one year of living expenses, excluding tuition and transportation.
That figure is updated annually, so it should not be treated as a permanent amount.
What Does CAD $23,448 Actually Mean?
Whenever you see “CAD”, It simply means Canadian dollars. Therefore, CAD $23, 448 means 23,448 Canadian dollars.
It does not mean that CAD $23,448 is the entire amount you need for your Canadian education.
It is the living-expense amount for one applicant under the current requirement.
You also need to consider:
- Tuition
- Transportation to and from Canada
- Additional expenses that apply to your circumstances
- Financial requirements for accompanying family members, if applicable
For example, imagine that your first-year tuition is CAD $20,000.
You should not look at CAD $23,448 and conclude that your total financial requirement is CAD $23,448.
Your planning needs to account for the tuition, the required living expenses and transportation.
What If Someone Else Is Paying for Your Studies?
That is possible in many situations, but the financial story should be clear.
Suppose your parents are financing your education.
Instead of simply uploading a bank statement and writing “my parents are my sponsors,” prepare documents that help explain the relationship and the source of the funds.
IRCC says financial evidence can include documents such as proof of support from the person providing the money, evidence of your relationship with that person, employment information and bank statements. The exact documents needed depend on your circumstances.
What If You Recently Received a Large Deposit?
This is another situation where applicants should slow down.
Suppose your account normally contains a modest amount, and a very large deposit appears shortly before you apply.
The issue is not simply that the balance is large. The source of the money may also matter because IRCC assesses both the amount of funds and their source.
If the money came from the sale of property, for example, keep documentation that helps explain that transaction.
If it came from another legitimate source, keep the relevant supporting evidence.
The goal is not to make your bank statement look impressive.
The goal is to present credible and understandable financial evidence.
What If You Have a Scholarship?
A scholarship can reduce the amount you need to personally fund, depending on the terms of the award.
For example, imagine your tuition is CAD $25,000 and you receive a CAD $15,000 scholarship.
You still need to consider the remaining tuition, living expenses and transportation when planning your finances.
Keep the official scholarship documentation because it can help explain how part of your education will be financed.
IRCC also notes that if a scholarship only covers tuition, you need other evidence showing that you can cover living expenses and transportation.
What About a Program Longer Than One Year?
This is easy to overlook.
You generally need to demonstrate enough financial resources for your first year, but if your program lasts longer than one year, you should also explain how you plan to finance the remaining years.
For example, you might show evidence of a longer scholarship, continuing parental employment or another credible source of future funding.
Specialist tip: Do not prepare your financial documents separately from the rest of your application. Check whether the amounts, names, dates and sources of funds make sense when viewed together.
Step 5: Gather Your Documents
Your exact document checklist depends on your circumstances, but your application may require documents such as:
| Document | Purpose |
|---|---|
| Passport | Proves your identity |
| Letter of Acceptance | Confirms your admission |
| PAL/TAL | Required in applicable cases |
| Proof of funds | Shows you can afford your studies |
| Academic documents | Shows your education history |
| Letter of Explanation | Explains your study plans |
| Biometrics | Identity verification |
| Medical exam | Required in some cases |
| Police certificate | Required in some cases |
Do not assume that every applicant needs exactly the same documents.
The safest approach is to check the current document requirements generated for your application and follow the instructions that apply to your situation.
Check Your Documents Before Uploading Them
Ask yourself:
- Is every document readable?
- Is the information consistent?
- Are names spelled correctly?
- Are dates accurate?
- Have I included the documents required for my specific situation?
- If a document is not in English or French, have I followed the applicable translation requirements?
- Can I explain where my financial funds came from?
- Does my study plan make sense when compared with my academic history?
This simple review can catch problems before submission.
Step 6: Write a Clear Letter of Explanation
A Letter of Explanation can help you provide context that may not be obvious from the standard forms and documents.
Do not treat it as an opportunity to write an emotional essay about how much you have always dreamed of Canada.
Instead, use it to explain relevant parts of your situation clearly.
Depending on your circumstances, you may need to explain:
- Why you chose the program
- Why you chose the institution
- How the program connects with your previous education or career plans
- How your studies will be financed
- Any unusual circumstances in your application
- Relevant gaps or changes in your academic history
- Other information that helps an officer understand your application
Example
Suppose you studied business administration and are applying for a master’s program related to finance.
You could explain how the new program builds on your previous education and fits into your professional plans.
The explanation should be truthful and supported by your documents.
Do not invent a story simply because you think it sounds more convincing.
Step 7: Submit the Application Online
Once your documents are ready, you can submit your study permit application through the appropriate Canadian immigration process.
Before pressing the final submission button, review your application carefully.
This is one of those moments where rushing can create unnecessary problems.
Check:
- Your personal information
- Passport details
- School information
- Program details
- Financial information
- Family information
- Previous immigration history
- Uploaded documents
If you discover that something is incorrect, deal with it properly rather than hoping the error will not be noticed.
Step 8: Pay the Fees and Give Biometrics
The current study permit processing fee is CAD $150. The individual biometrics fee is CAD $85 where biometrics are required.
After receiving the appropriate biometrics instruction, follow the instructions provided and complete the process within the required timeframe.
Biometrics generally involve collecting your fingerprints and photograph.
Do not confuse biometrics with your passport photograph.
They are part of Canada’s identity and security procedures and are handled according to the instructions given to you.
If you have already provided biometrics for a previous application, check whether they are still valid rather than assuming you must automatically provide them again.
Step 9: Complete a Medical Examination If Required
Some applicants may need a medical examination as part of their immigration application.
Whether you need one can depend on factors such as your circumstances, where you have lived or travelled and the type of work you may do in Canada.
If IRCC tells you that you need a medical examination, follow the instructions and use an approved panel physician.
Do not simply visit any medical centre and assume the examination will be accepted.
How Long Does a Canada Student Visa Application Take?
There is no single processing time that applies to every applicant.
Canadian study permit processing times can vary depending on factors such as the country from which you apply, application volume, completeness and whether additional information is required.
IRCC provides a processing-time tool that should be checked when you are preparing your application.
Therefore, do not build your entire travel plan around an old processing-time figure you found in a blog post.
If your school has a registration deadline, work backward from that date and give yourself reasonable time for the application process.
What Happens After You Apply?
After submitting your application, IRCC reviews the information and documents you provided.
They may:
- Continue processing the application
- Ask for additional documents
- Ask you to complete a medical examination
- Request other information
- Make a decision on the application
If IRCC asks for additional documents, read the request carefully.
For example, you could be asked for an additional financial document, academic document, identity document or other evidence related to your application.
Do not respond by uploading random documents simply because you think more documents will make the application stronger.
Provide what was requested and make sure the documents are clear and relevant.
What If Your Application Is Refused?
A refusal does not mean you should immediately submit the same application again.
The refusal letter should explain the reasons for the decision.
Read those reasons carefully.
For example, if the officer was not satisfied with your financial circumstances, submitting another application with the same unexplained financial evidence may not address the underlying concern.
If you apply again, you should understand what needs to be different or better supported.
Avoid paying someone who promises that they can “guarantee” a Canadian study permit.
No legitimate adviser can guarantee an immigration decision.
What Happens If Your Application Is Approved?
If you apply from outside Canada and your study permit application is approved, IRCC may issue a port of entry letter of introduction. This is not the study permit itself.
The actual study permit is normally issued when you arrive in Canada and an officer confirms that you meet the requirements for entry. Therefore, read your approval instructions carefully and keep the required documents accessible when travelling.
Before travelling, check:
- Your passport
- Your approval documents
- Your Letter of Acceptance
- Your travel document requirements
- Your school information
- Your accommodation arrangements
- Your available funds
- Your travel plans
Keep important documents accessible during your journey rather than placing everything in checked luggage.
What Should You Do Before Leaving for Canada?
Once your study permit has been approved, avoid focusing only on your flight ticket.
There are several practical things to arrange.
Accommodation
Know where you will stay when you arrive.
If your university provides student accommodation, understand the check-in process and arrival dates.
If you are renting privately, keep your accommodation confirmation and address available.
Tuition and School Registration
Check whether your institution requires you to complete additional registration steps before arrival.
Some schools have deadlines that are separate from the immigration process.
Important Documents
Keep digital and physical copies of important documents, including your passport, admission documents, immigration documents and financial evidence.
You should be able to access them without searching through your checked luggage.
Can You Work While Studying in Canada?
Eligible international students may be able to work while studying, but there are conditions.
Under the current rules, eligible students can work up to 24 hours per week off campus during regular academic sessions. During scheduled breaks, eligible students may work unlimited hours.
However, this is not permission to ignore your study permit conditions.
You need to continue meeting the requirements for working as an international student.
Working more than the permitted hours during a regular academic session can violate your study permit conditions.
You also cannot start working before your study program begins.
And even where work is permitted, you should not build your entire financial plan around money you expect to earn from a Canadian job.
Your study permit application requires you to demonstrate financial support without relying on working in Canada.
What About Working After Graduation?
You may be able to apply for a Post-Graduation Work Permit (PGWP) after completing an eligible program.
However, graduating from a Canadian school does not automatically guarantee PGWP eligibility.
This is something you should investigate before choosing your program, not after graduation.
Some PGWP requirements depend on:
- The DLI
- Your program
- Your level of study
- When you submitted your study permit application
- Language requirements
- Field-of-study requirements in applicable cases
Therefore, if the possibility of working in Canada after graduation is important to your plans, check the current PGWP rules and the eligibility of your specific program before paying tuition.
Common Mistakes to Avoid
Here are some mistakes that can weaken an otherwise carefully prepared application.
1. Choosing a School Without Checking Its DLI Status
Getting admission is exciting, but do not stop there.
Confirm that the institution is a designated learning institution and check the details of the specific program you intend to study.
2. Treating Your Bank Balance as the Whole Financial Story
A large balance does not automatically explain how you will finance your education.
Your financial documents should make sense together and, where necessary, help explain the source of significant funds.
3. Copying Another Applicant’s Document List
Your friend’s application may look different from yours.
Their program, family situation, province, level of study and immigration history can affect what documents are required.
4. Ignoring PAL/TAL Requirements
Some students assume everyone needs a PAL or TAL, while others assume nobody needs one.
Both approaches can cause problems.
Check the current exemptions and determine which rule applies to your program and institution.
5. Writing a Generic Letter of Explanation
A letter filled with statements about how much you love Canada does not automatically make an application stronger.
Use the letter to explain relevant facts about your education, finances and study plans.
6. Assuming a DLI Automatically Means PGWP Eligibility
A school being a DLI does not mean every program automatically qualifies for a PGWP.
If post-graduation work matters to you, check the eligibility of your specific program before making your decision.
7. Providing Documents Without Checking for Contradictions
Imagine your application says your parents are financing your education, but another part of the application suggests that you will personally pay all expenses.
Inconsistencies like this can create unnecessary questions.
Review the entire application as one story rather than checking each document separately.
8. Using Outdated Information
Canadian immigration rules can change.
For example, financial requirements, work-hour rules, PAL/TAL requirements and post-graduation work permit rules have changed in recent years.
Therefore, do not rely on an old YouTube video, forum comment or blog post simply because it appears near the top of Google.
For the latest requirements and application guidance, always check the official Canadian study permit requirements and guidance.
Canada Student Visa Checklist
Before submitting your application, use this checklist as a final review.
Admission
- I have been accepted by a designated learning institution.
- I have my Letter of Acceptance.
- I have checked that my program and institution are suitable for my plans.
- I have checked the program’s PGWP eligibility if this matters to me.
PAL/TAL
- I have determined whether I need a PAL or TAL.
- If I am exempt, I have confirmed that my situation falls under an official exemption.
- If I study in Quebec, I have checked the applicable provincial requirements.
Finances
- I can demonstrate sufficient funds.
- I have considered tuition.
- I have considered the required living expenses.
- I have considered transportation.
- I can explain the source of my funds.
- My financial documents are consistent with the information in my application.
Application
- My passport information is correct.
- My application information is accurate.
- My documents are readable.
- I have provided the documents required for my situation.
- I have completed biometrics if required.
- I have completed a medical examination if required.
Before Travel
- I have received my approval documents.
- I have checked my travel document requirements.
- I know where I will stay.
- I know when I need to register at my school.
- I have my important documents accessible during travel.
Frequently Asked Questions
Is a Canada student visa the same as a study permit?
No. “Canada student visa” is a common search term, but the study permit is the document that generally authorizes you to study in Canada. Depending on your nationality, you may also need a TRV or eTA to travel to Canada.
How much money do I need to show for a Canada student visa?
The amount depends on your circumstances and family size.
For applications made on or after September 1, 2026, a single applicant outside Quebec generally needs CAD $23,448 for one year of living expenses, excluding tuition and transportation.
You must also account for tuition, transportation and applicable costs for accompanying family members.
Can my parents sponsor my studies in Canada?
Your studies can be financed by someone other than yourself, but your application should clearly demonstrate how your education and living expenses will be funded.
Prepare financial evidence that makes the source and availability of the funds understandable.
Do all students need a PAL or TAL?
No. Many applicants need one, but there are exemptions.
For example, students entering degree-granting master’s or doctoral programs at public DLIs are exempt from the PAL/TAL requirement under the 2026 rules. Other exemptions also exist.
Always check the current requirements for your specific situation.
Can I work while studying in Canada?
Eligible international students can generally work up to 24 hours per week off campus during regular academic sessions and unlimited hours during scheduled breaks, provided they continue to meet the applicable requirements.
Do not assume that having a study permit automatically means you can work without conditions.
Can I stay in Canada after graduation?
You may be eligible for a Post-Graduation Work Permit if you meet the applicable requirements.
However, PGWP eligibility is not automatic simply because you graduated from a Canadian institution. Check the eligibility of your specific school and program before you begin your studies.
What happens if IRCC asks me for additional documents?
Read the request carefully and provide the documents requested within the stated deadline.
For example, IRCC may ask for additional financial evidence, an academic document, identity information or another document relevant to your application.
Do not send unrelated documents simply because you think a larger file will automatically improve your application.
Can I apply again if my study permit is refused?
You may be able to submit a new application, but you should first understand the reasons for the refusal.
If you simply submit the same information without addressing the concerns identified in the refusal, you may not have meaningfully improved your application.
What to Keep in Mind
Getting a Canada student visa is not simply about completing an online form and uploading a passport.
The process starts much earlier, with choosing the right institution and program. From there, you need to obtain the correct admission documents, determine whether you need a PAL or TAL, prepare credible financial evidence and make sure the information across your application tells a consistent story.
Do not rush through the financial section or assume another student’s document list automatically applies to you. Do not choose a program based only on the possibility of working in Canada afterward.
Instead, build your application around your actual circumstances.
Before submitting, go through your documents one more time and ask yourself a simple question:
If an immigration officer looked at my application as a complete story, would my study plans, finances, academic background and supporting documents make sense together?
If the answer is yes, you have at least taken the time to approach the application carefully.
Finally, immigration requirements can change. Fees, financial thresholds, work conditions, PAL/TAL rules and post-graduation work permit requirements may be updated, so always check the latest official Canadian guidance before submitting your application or making major travel arrangements.